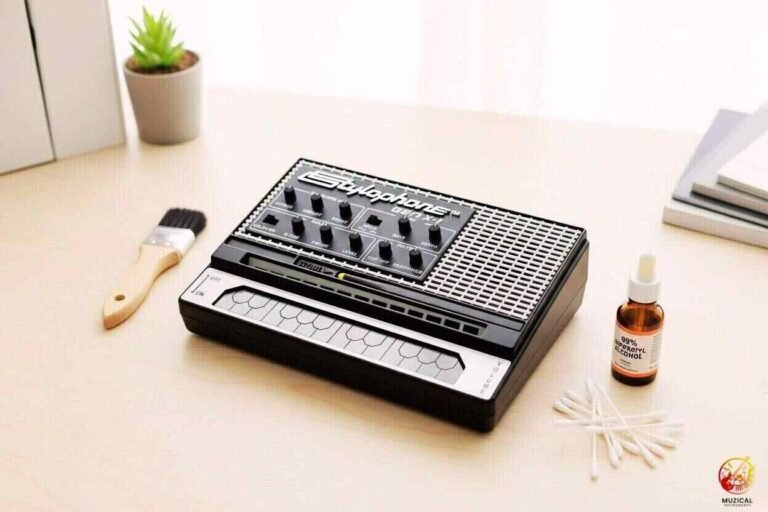
DIY Stylophone Mods That Make Your Sound More Fun
You can make a basic Stylophone more fun by opening it up and changing a few simple parts. These DIY stylophone mods help you shape the sound in new ways. You can extend the pitch range, add rough distortion, or create strange and playful tones.
Many players feel the stock sound gets boring after a while. Modding fixes that problem. Some projects are easy and focus on looks or controls. Others change how the sound behaves. If you want a Stylophone that feels personal and unique, simple sound mods give you that control without deep electronics skills.
What Makes The Stylophone Worth Modding In The First Place?
Its basic design lets you create sounds the stock version cannot make.
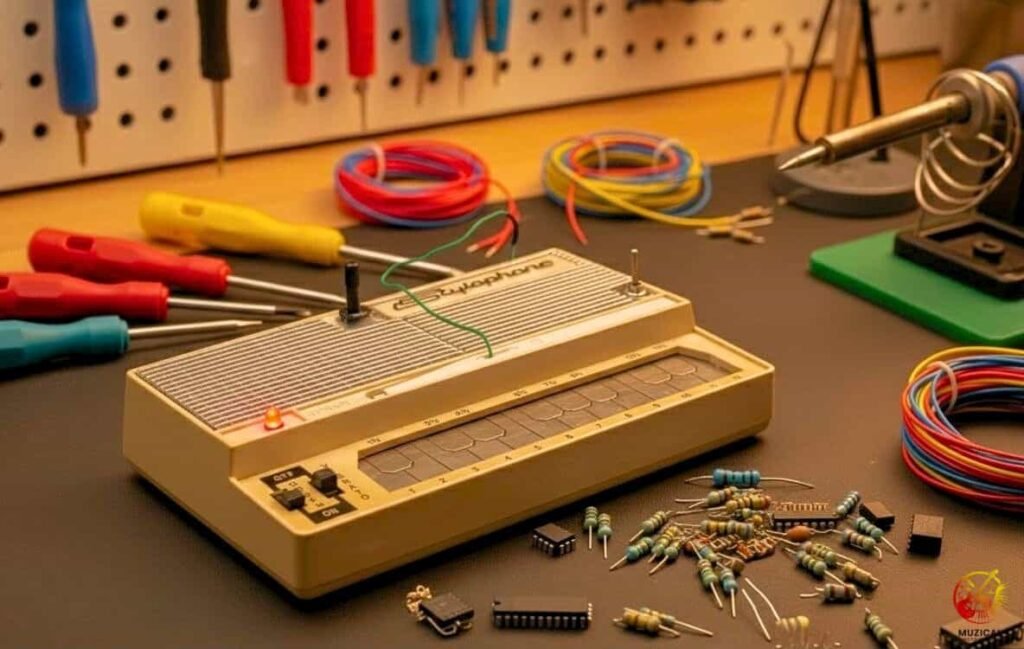
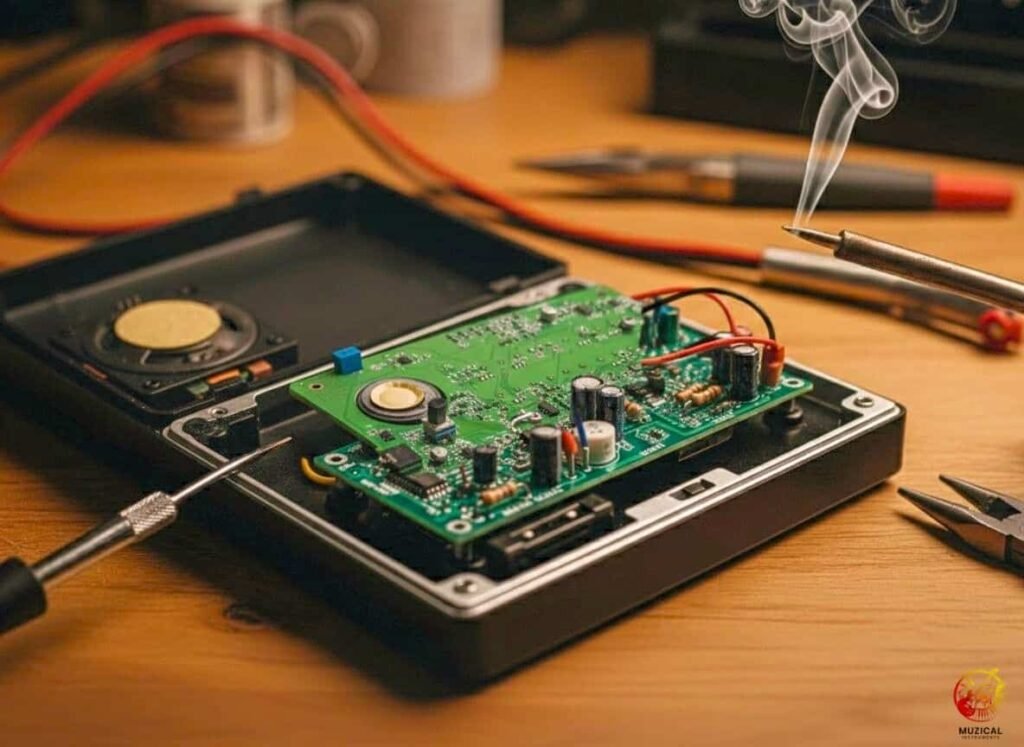
The Stylophone makes sound using a very simple circuit. The sound changes based on where your stylus touches the metal keys. This simple setup is easy to understand. It is also why the sound feels limited right out of the box.
When you mod a Stylophone, you unlock new sounds. You can make it buzz, wobble, growl, or scream. These sounds work well for lo-fi music and experimental play. The downside is risk. Some mods make tuning harder. Too much heat while soldering can break the unit.
If you want a clean and steady instrument, do not mod your only Stylophone. The good news is it is affordable. Many players keep one stock and use a second one just for experiments.
DIY Stylophone Mods: Voltage Sag (Pitch Drop) Mod
Best DIY stylophone mod for lo-fi pitch control
This DIY stylophone mod creates the classic “dying battery” sound. You control pitch by controlling power. Less power means lower, unstable notes.
This mod is best for lo-fi and experimental players.
Avoid this DIY stylophone mod if you need clean tuning or stage reliability.
Why This DIY Stylophone Mod Works
This DIY stylophone mod reduces voltage going into the sound circuit. When you turn the knob, resistance increases. As resistance increases, pitch drops.
You notice the pitch does not fall smoothly. It starts to wobble and bend. The sharp square wave becomes soft and unstable.
In testing, this wobble added character that plugins struggle to copy. That is why voltage sag is one of the most popular DIY stylophone mods.
Parts That Work Best
Recommended:
100kΩ Linear Potentiometer
- Smooth control
- Wide usable range
- Keeps the Stylophone powered on
Avoid:
1MΩ Potentiometer
- Cuts power too fast
- Turns the Stylophone off early
- Makes control unusable
How to Install This DIY Stylophone Mod
(Beginner-friendly)
- Cut the red battery wire in the middle.
- Solder one end to the middle lug of the pot.
- Solder the other end to the left lug.
- Drill a 7mm hole and mount the knob.
Drill slowly. The plastic cracks easily. Use tape over the hole.
Verdict
Choose this DIY stylophone mod if you want dirty, unstable pitch and full control.
Avoid it if you want stable tuning or only own one Stylophone.
DIY Stylophone Mods: Choosing the Right Delay Pedal
Best external DIY stylophone mod for smoother echoes
This DIY stylophone mod uses a delay pedal to shape the sound outside the unit. The right delay makes the Stylophone feel wider and more musical. The wrong delay makes it click and stab your ears.
This mod is best for recording and home play.
Avoid it if you need a clean, dry lead sound.
Why Analog Delay Works Best
The Stylophone outputs a sharp square wave. That first hit is loud and clicky.
Digital delays repeat this click exactly. You hear fast, robotic tapping with every note. This gets tiring very fast.
Analog delay smooths the sound instead. Each repeat loses a little high end. The click turns into a soft echo.
This is why analog delay is the best external DIY stylophone mod.
Recommended Delay Options
Best budget choice: Behringer VD400
- Dark repeats
- Cheap and simple
- Softens harsh attack
Higher quality option: MXR Carbon Copy
- Warmer sound
- Better control
- Costs more
Avoid clean digital delays if possible. They keep the click and make it worse.
Input Level Warning
The Stylophone is louder than it looks. If the volume is too high, pedals will distort.
Keep the volume wheel around 70%. This protects the delay and keeps repeats clear.
Verdict
Choose this DIY stylophone mod if you want warm, wide echoes.
Avoid it if you like sharp, dry sounds or play live without pedals.
DIY Stylophone Mods: Replace the Stylus Wire
Best DIY stylophone mod for smoother play and better contact
This DIY stylophone mod fixes one of the most common problems. The stock stylus wire breaks or fights your hand.
When the wire is stiff, fast playing feels hard. Notes drop out. Glides feel rough.
This mod is best for players who use the Stylophone often.
Avoid this DIY stylophone mod if your unit is new and the wire still works.
Why the Stock Wire Fails
The original wire is stiff. It holds its shape.
When you move the stylus, the wire pulls back. This creates drag. That drag breaks contact and slows your hand.
Over time, the wire also snaps inside the case. This is a design limit, not user error.
Best Replacement Wire
Recommended: 24 AWG Silicone Wire
- Very flexible
- No coil memory
- Moves freely while playing
Avoid: Thick speaker wire or stiff PVC wire
- Creates resistance
- Pushes the stylus away
- Makes fast playing harder
This DIY stylophone mod improves feel more than sound.
How to Install This DIY Stylophone Mod
(Beginner-friendly)
- Open the case and remove the old wire.
- Thread the new wire through the exit hole.
- Tie a simple knot inside the case.
- Solder the wire to the stylus pad.
The knot absorbs pulling force. This protects the solder joint from breaking.
Verdict
Choose this DIY stylophone mod if your stylus feels heavy or unreliable.
Avoid it if your wire is still flexible and responsive.
DIY Stylophone Mods: Low-Pass Filter Mod
Best DIY stylophone mod for reducing harsh high frequencies
This DIY stylophone mod removes the sharp, painful edge from the sound. If your Stylophone feels thin or screechy, this mod helps.
It smooths the tone without changing how you play.
Avoid this DIY stylophone mod if you rely on a bright, cutting lead sound.
Why This DIY Stylophone Mod Works
The Stylophone produces a strong square wave. Square waves have very sharp corners.
Those sharp edges create high-frequency fizz. That fizz is what hurts your ears.
This DIY stylophone mod filters those highs.It rounds off the wave shape. The sound becomes softer and more flute-like.
The Right Part to Use
Recommended: 0.1µF Capacitor (Code 104)
Ceramic or Mylar both work.
- Reduces harsh highs
- Keeps notes clear
- Easy to reverse
Avoid:
0.01µF (too weak)
1.0µF (too muddy)
0.1µF is the balance point.
How to Install This DIY Stylophone Mod
(Beginner-friendly)
Solder the capacitor across the speaker terminals or output jack.
Do not hardwire it permanently.
Use a simple toggle switch instead. Switch OFF keeps the classic buzz. Switch ON gives a mellow tone.
This gives you two sounds in one unit.
Verdict
Choose this DIY stylophone mod if the high end hurts your ears. Avoid it if you need your Stylophone to cut through a mix.
DIY Stylophone Mods: Changing the Waveform Shape
Advanced DIY stylophone mod for deeper tone control
You can change how the Stylophone wave behaves. But this DIY stylophone mod is not for beginners.
The Stylophone uses a square wave. Changing it fully to a triangle wave is complex and risky. The safer option is pulse width control.
Avoid this DIY stylophone mod if you are new to soldering.
The Practical Option: Pulse Width Modulation (PWM)
This DIY stylophone mod changes the width of the square wave. It does not replace the waveform. It reshapes it.
Narrow pulse width sounds thin and nasal. Wider pulse width sounds fuller and heavier.
You hear the change instantly. It feels like switching between instruments.
This is the most effective waveform-related DIY stylophone mod.
How This DIY Stylophone Mod Works
The Stylophone uses a timing chip to make sound. A fixed resistor sets the pulse width.
By replacing that resistor with a potentiometer and two diodes, you gain control over the wave shape.
Turn the knob. The tone shifts.
This gives you playable sound variation, not theory.
Serious Risk Warning
This DIY stylophone mod is dangerous to the board.
Modern Stylophones use very thin copper traces. Too much heat lifts them fast.
If a trace lifts, the unit is usually dead.
Skip this mod if you do not have:
- A temperature-controlled iron
- Good soldering skill
- A backup Stylophone
Verdict
Choose this DIY stylophone mod if you want deep tone control and accept risk.
Avoid it if you want safety, stability, or beginner-friendly mods.
DIY Stylophone Mods: Final Decision Guide
When DIY stylophone mods are right for you
DIY stylophone mods turn a simple instrument into something personal. They change how it feels and how it sounds.
These mods add wobble, warmth, and texture. They also add risk.
Once you open the case, the Stylophone is no longer a toy. It becomes a tool you control.
What You Gain from DIY Stylophone Mods
You get sounds the factory never planned. Pitch bends feel alive. Harsh tones soften. Simple notes gain character.
You also learn how sound works. Each mod teaches cause and effect.
What You Risk
DIY stylophone mods can break your unit. Mistakes happen. Plastic cracks. Traces lift.
Mods also change tuning and stability. Clean play is harder after some changes.
Final Decision
Choose DIY stylophone mods if you:
- Want unique and unstable sounds
- Enjoy hands-on work
- Own a backup Stylophone
Avoid DIY stylophone mods if you:
- Need perfect tuning
- Play live without backups
- Do not want to solder
If this sounds like you, mod with confidence. If not, keep one Stylophone stock and enjoy it as it is.
FAQ: DIY Stylophone Mods
1. What is the correct way to sit at a drum set?
Sit up straight but keep your body relaxed. Don’t hunch over like a turtle. Make sure your hips are a little bit higher than your knees. This helps your feet move fast on the pedals without getting stuck.
2. How high should my drum throne be?
Adjust your seat so your thighs slant downward just a little. Your hip bone needs to be higher than your knee cap. If you sit too low, your legs have to work extra hard to lift up.
3. Why does my back hurt when I play drums?
Back pain usually happens because you are slouching. If you round your shoulders, your lower back gets tight. Try to sit tall, like a string is pulling the top of your head up.
4. Should I sit on the edge of the drum stool?
Yes, it is best to sit on the front edge of the seat. This leaves your legs free to move up and down. If you sit too far back, the cushion cuts into your legs and slows you down.
5. How far away should the snare drum be?
Sit close enough that your elbows hang naturally by your ribs. You should be able to hit the center of the drum easily. If your arms are reaching out straight, you are sitting too far away.